FROM SCREENSHOT TO LAUNCH
Build an App Store screenshot set that explains your app.
Give each image one job: introduce the outcome, show the main interaction, then answer the next question. Here is a practical workflow for turning real app screens into a coherent listing and launch set.
By Brayer · Reviewed 21 September 2026
Start with three specific messages
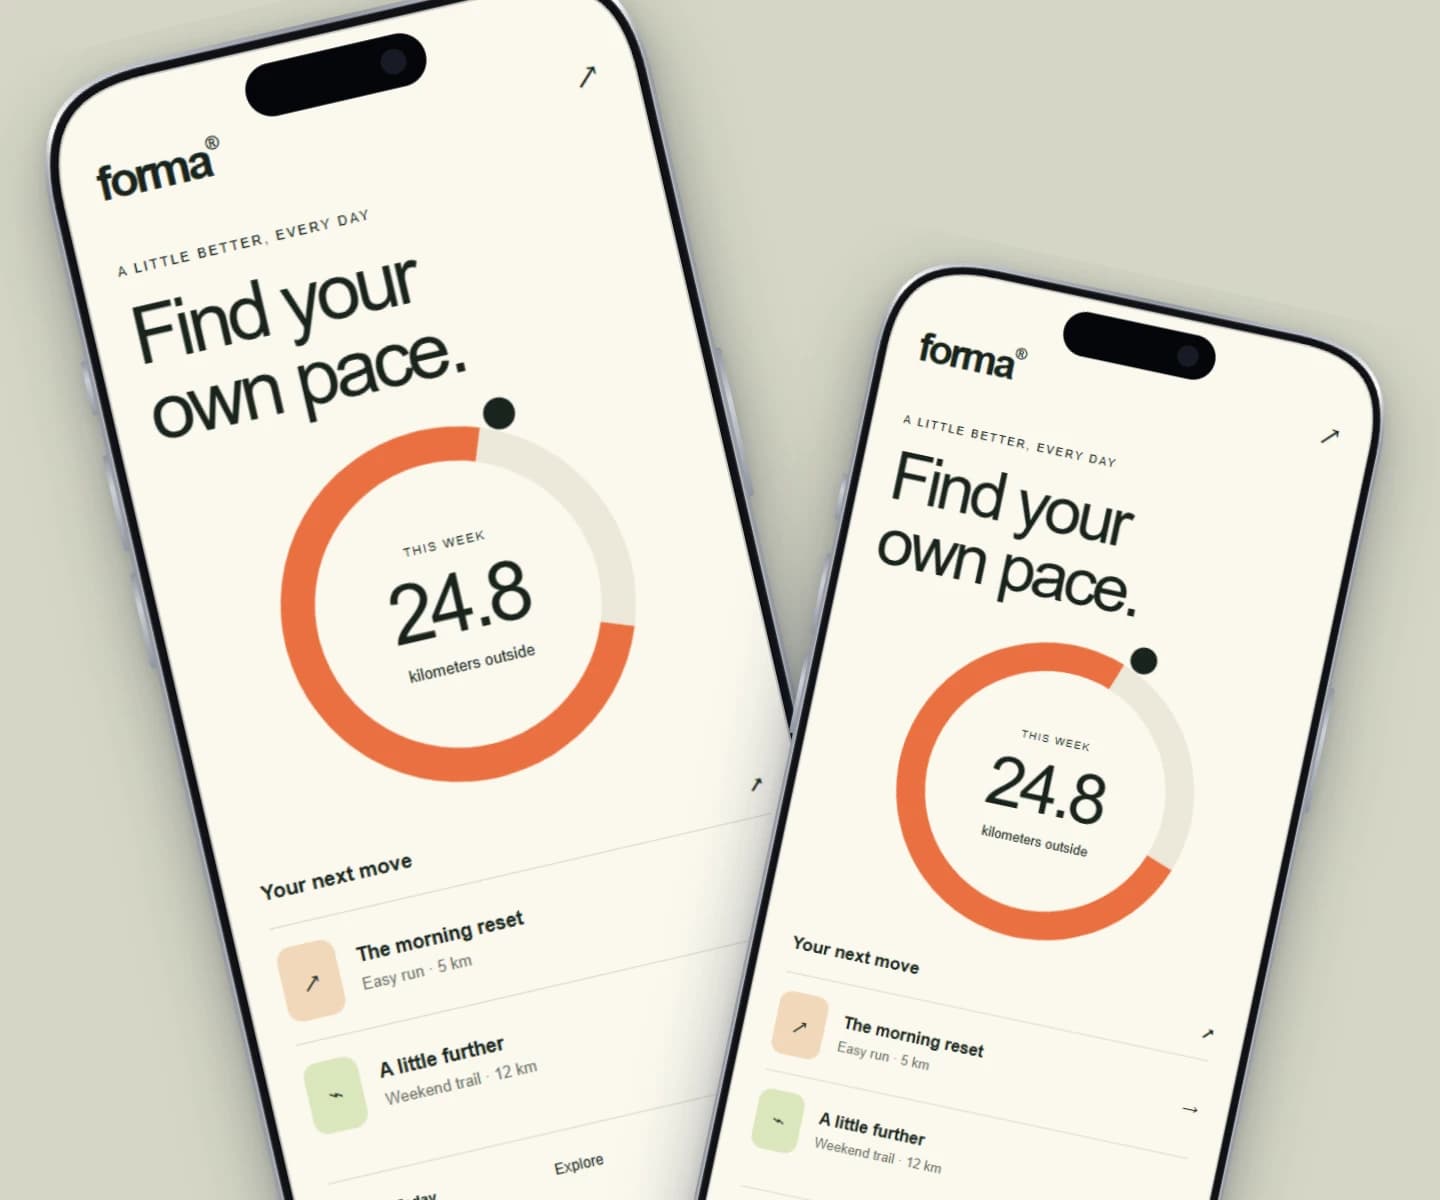
For the fictional Forma running app in our example, the sequence might be: ‘Find your next run’, ‘Follow your weekly progress’, and ‘Build a routine that fits’. Each headline needs a real screen that demonstrates it. This is a planning example, not a claim about conversion rates.
Capture the current app with sample account data. Use consistent language, theme and status-bar treatment. A large phone with one readable screen usually communicates more than several small screens competing for attention.
Set exact dimensions before arranging the design
Open the iPhone scene in Brayer, switch to Full editor, and set a custom canvas width and height. The wide two-phone example is useful for a website; reposition or remove a phone for a portrait listing image. Add a short headline above the remaining device and leave space around its edges.
Apple permits one to ten screenshots and accepts PNG and JPEG without transparency. Required sizes depend on the supported device categories. The examples below are a starting point; confirm the current requirements in App Store Connect before preparing every localization.
| Canvas | Export | Use |
|---|---|---|
| 1260 × 2736 px | PNG or JPEG, no transparency | One accepted portrait size |
| 1290 × 2796 px | PNG or JPEG, no transparency | Another accepted portrait size |
| 1320 × 2868 px | PNG or JPEG, no transparency | Another accepted portrait size |
Duplicate the structure, then change the story
Add pages for the next features and replace the image in each phone. Keep the headline position, font and background consistent. Change the screenshot crop when a feature needs more detail; duplicating a page does not mean every interface must use the same crop.
Check every page at a small viewing size. If the headline needs two reads or the interface is impossible to identify, shorten the copy or enlarge the screen. Repeat the review with the longest translation before producing the final set.
Export, inspect and keep an editable copy
Free exports each page as PNG or JPEG at your exact canvas dimensions with no watermark. Keep transparency off; JPEG is a useful choice when the upload requires no alpha channel. Pro can download the pages together as a ZIP. Both plans can save a portable project backup.
Open the downloaded files and check their pixel dimensions, spelling and crop before submitting. Brayer creates the artwork; App Store Connect performs the submission checks. Keep the original captures so you can update a screen without recreating the composition.
Check the source requirements
Product features and submission requirements can change. These official pages support the comparison or specifications above.
Keep building your launch set
- How to Make Google Play Screenshots and a Feature Graphic
- Brayer vs Shots: Choosing a Mockup Tool
- Brayer vs Rotato: Still Mockups or 3D Animation?
Android mockups · iPhone mockups · Business card mockups
Try the example